In the first part of the series we explain the advantages of individually developed templates, explain the basic structure of a Joomla! template and the functionality of each individual file. Afterwards we show how the index.php file of a template can be modified to output first own code.
One of the core aspects of any Joomla! project is the template used. It defines the graphical output of our content in the browser and determines the design of the website. A performant and visually appealing template is therefore one of the key success factors for any website.
Everyone who works with Joomla! has probably had a very similar history in the field of template development:
In the first instance, one deals with the venerable Protostar template and explores what possibilities the template offers: Which module positions are available? What does the basic styling of the template look like? Later, minor adjustments are made to the CSS and, for example, the primary colour for buttons is adjusted to the colours of your own company.
Alternatively, you can also get an overview of the market of free and commercial Joomla! templates, which you can use and modify for your own purposes.
At some point, however, most of us are (or have been) at the point where we would have liked to have an individual Joomla! template available as a foundation exactly tailored to our own requirements.
We will show you how you can implement your ideas in our guide. The first part deals with the basic template structure: How are the required files structured and what functions do they have?
All those who want to start directly or first want to get an overview of the structure of a Joomla! template can download our Monkey-Boilerplate here: BackupMonkey Boilerplate 3.X.
You can also find the repository on github: https://github.com/backupmonkey/template-boilerplate
All customers of our service can also download the Boilerplate in the download area of our BackupMonkey-Toolbox.
General
Who is this guide for?
For all those who want to start programming their own Joomla! templates! Basically: If you can use HTML to structure a website and CSS to style it, you can also program a Joomla! template.
To understand the following guide, basic knowledge of HTML, (S)CSS and the template system of Joomla! is sufficient (What are modules? What is a component?). Basic knowledge of PHP is also advantageous, although at the beginning you can start by using the " default output" of Joomla! in many places.
With the complexity of the screen designs to be implemented, the demands on the knowledge in the areas of HTML, CSS, PHP and later also JavaScript also increase in order to dynamise the output of content and implement layouts that cannot be implemented exclusively on the base of CSS.
Advantages of a custom template
Regarding the huge market of Joomla! templates and page builders, the question surely arises for what reason one should develop an own template at all. There are two good reasons for this:
You have full control and flexibility over the graphical presentation of the website and can develop tailor-made, individual solutions for end customers or your own needs.
Commercial and non-commercial templates have to cover a variety of use cases to be successful. As a result, they have a large code base and offer a range of functions that we do not need in our projects. So we drag along a lot of unused code that is loaded but has "no function". This in return has a negative effect on the performance of the website.
Whether an individual development or a setup based on an existing template is the right solution has to be evaluated from project to project. It is important to provide the end customer with an economical solution that meets the customer's needs in the long term.
Let's get started!
The basic structure of a template
Basic structure
- index.php
- templateDetails.xml
- error.php
- template_preview.png
- template_thumbnail.png
- css // Our css styles are defined here
- js // Required JavaScript is added here
- img // All the images we need for the layout of our template are stored here (e.g. a logo file or background graphics that are included using CSS).
index.php
The index.php is the heart of every Joomla template and comparable to a static index.html as we know it from many websites. The only difference is that we do not define fixed content in the code, but placeholders that are later filled with content from our system.
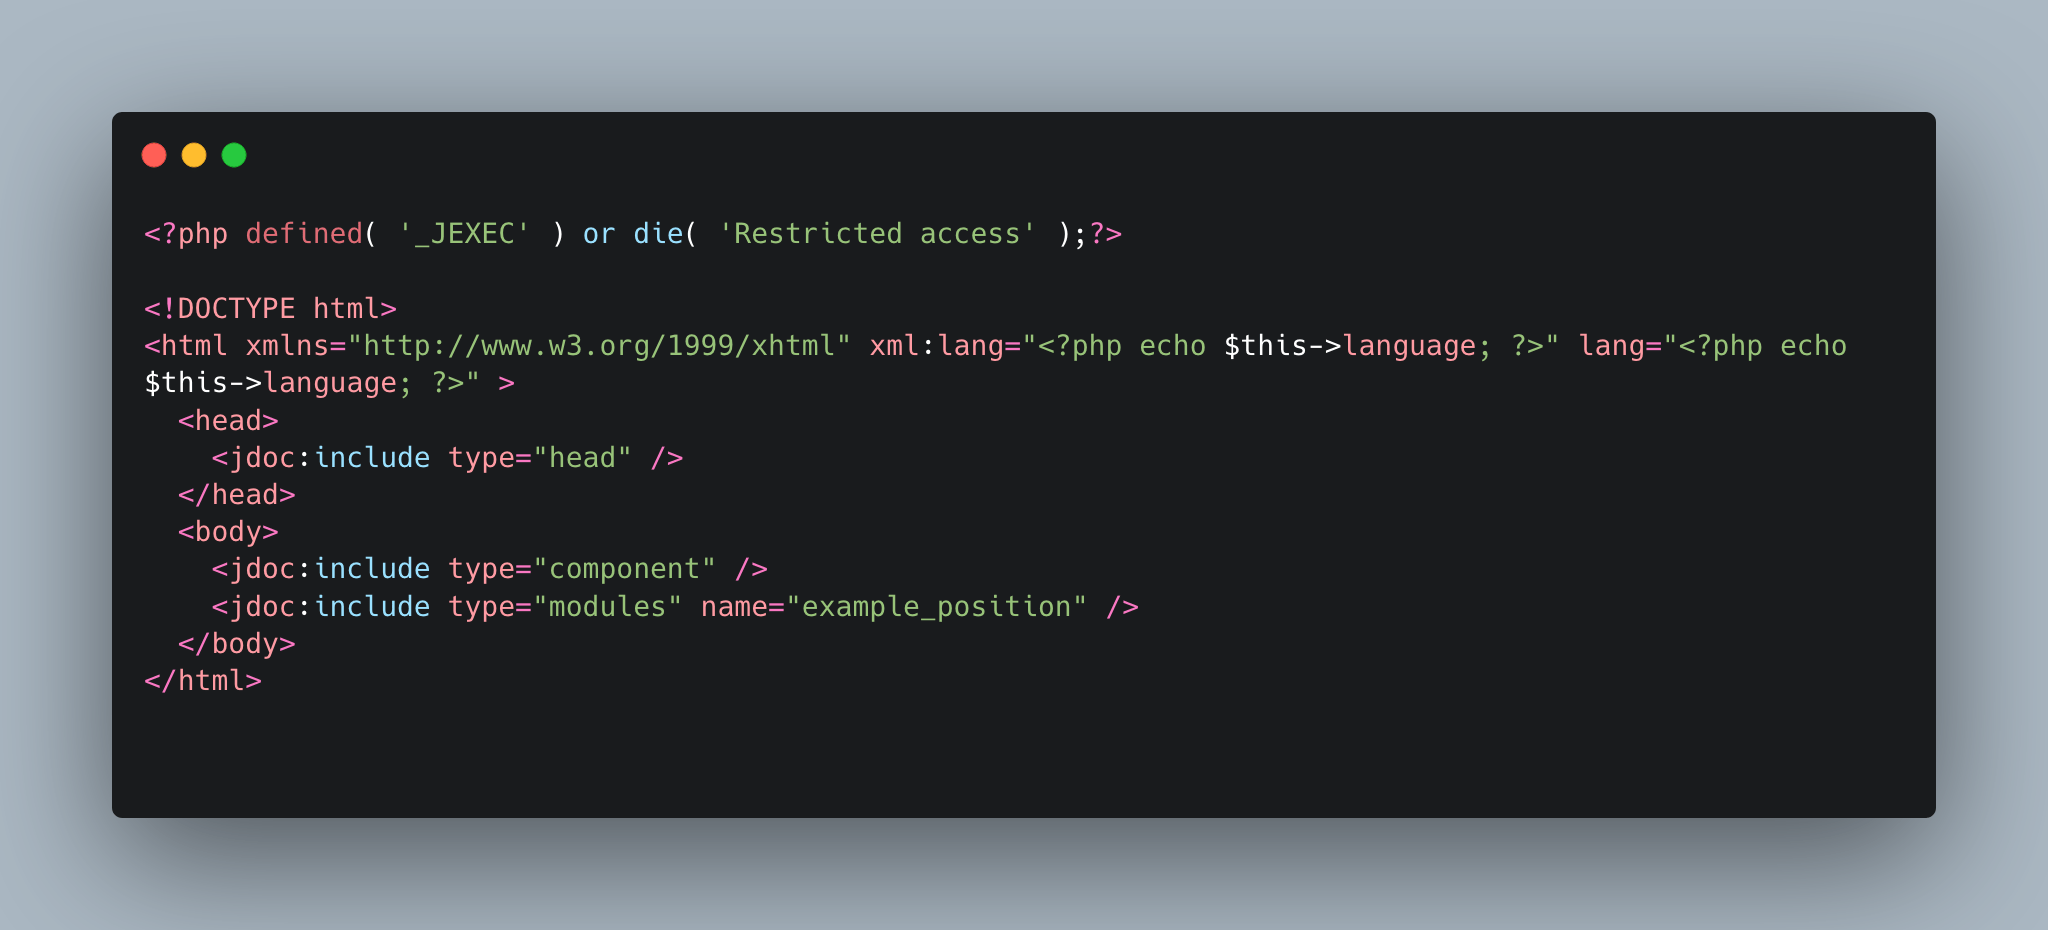
Now let's have a look at our index.php in detail:
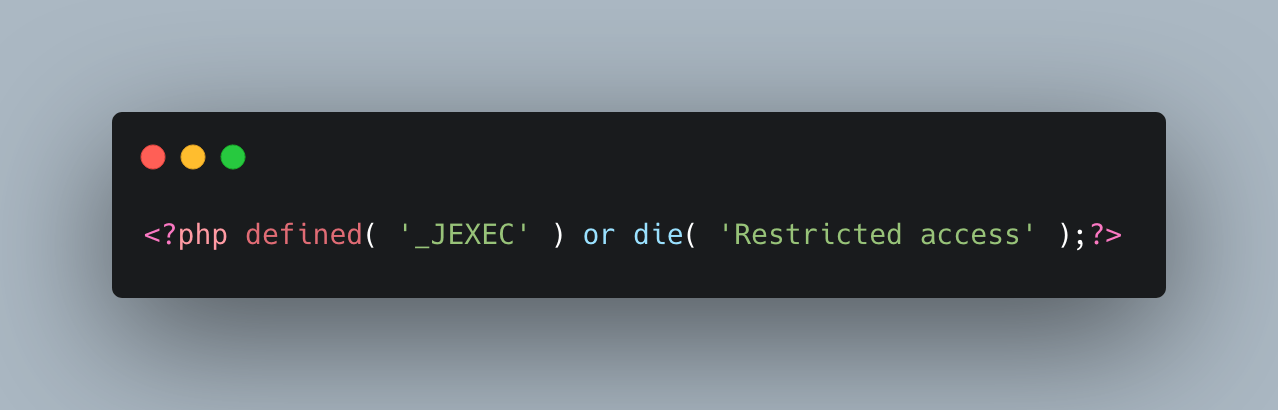
The first line protects our code from uninvited guests and should always be the first line of an index.php file. This line prevents the direct access to the index.php via the browser (domain.tld/templates/meintemplate/index.php), because this access would otherwise generate an error message from which the internal directory structure of the server would be derived - this would be called Full Path Disclosure and would have a ( even if very small ) security relevance.
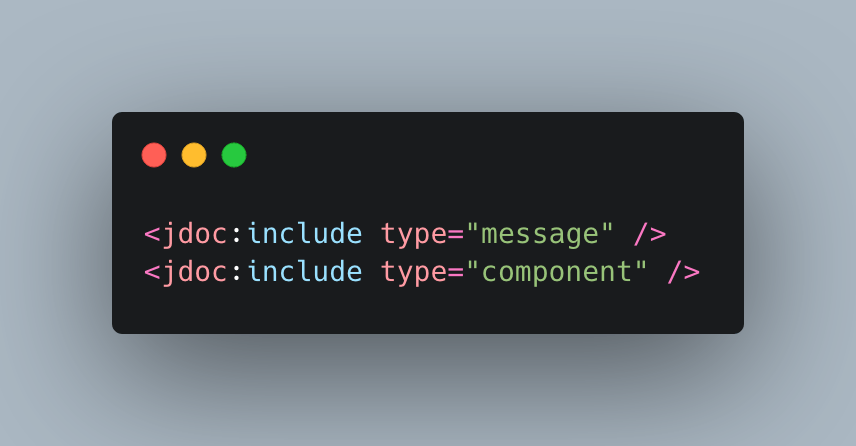
The code snippet <jdoc:include type="message" /> describes the placeholder that is responsible for the display of system messages (e.g. the error message if a form was not successfully submitted). All system messages will be displayed at exactly this position in the template.
The code snippet <jdoc:include type="component" /> is the placeholder for the output of our component. If we take the Example of a menu entry of the type "single article", the article we defined in the menu entry would be displayed at this point.
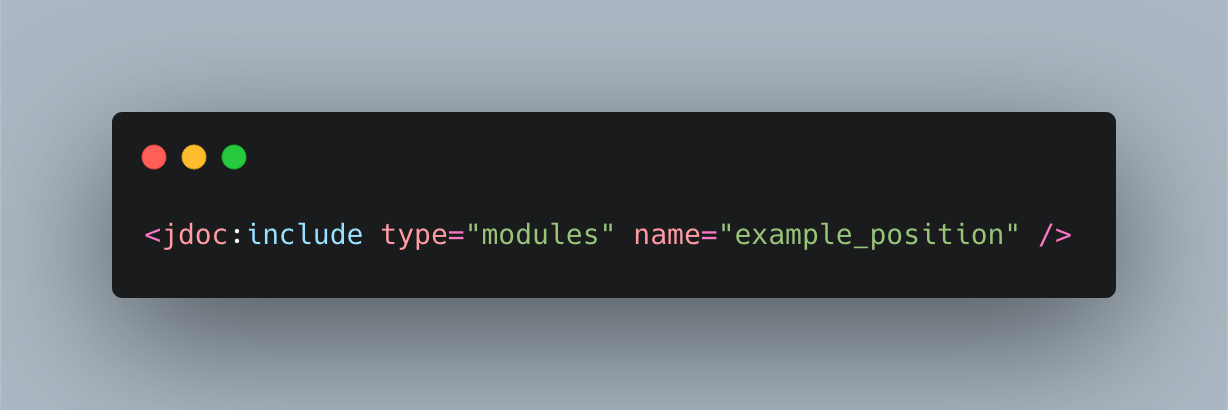
The last noticeable code snippet in our index.php file is the following: <jdoc:include type "modules" name="example_position" />
In this way, placeholders for our modulepositions are added to our template. In this case the module position Example Position. For each of our desired module positions we have to put a corresponding placeholder in our index.php file to fill it with life afterwards.
templateDetails.xml
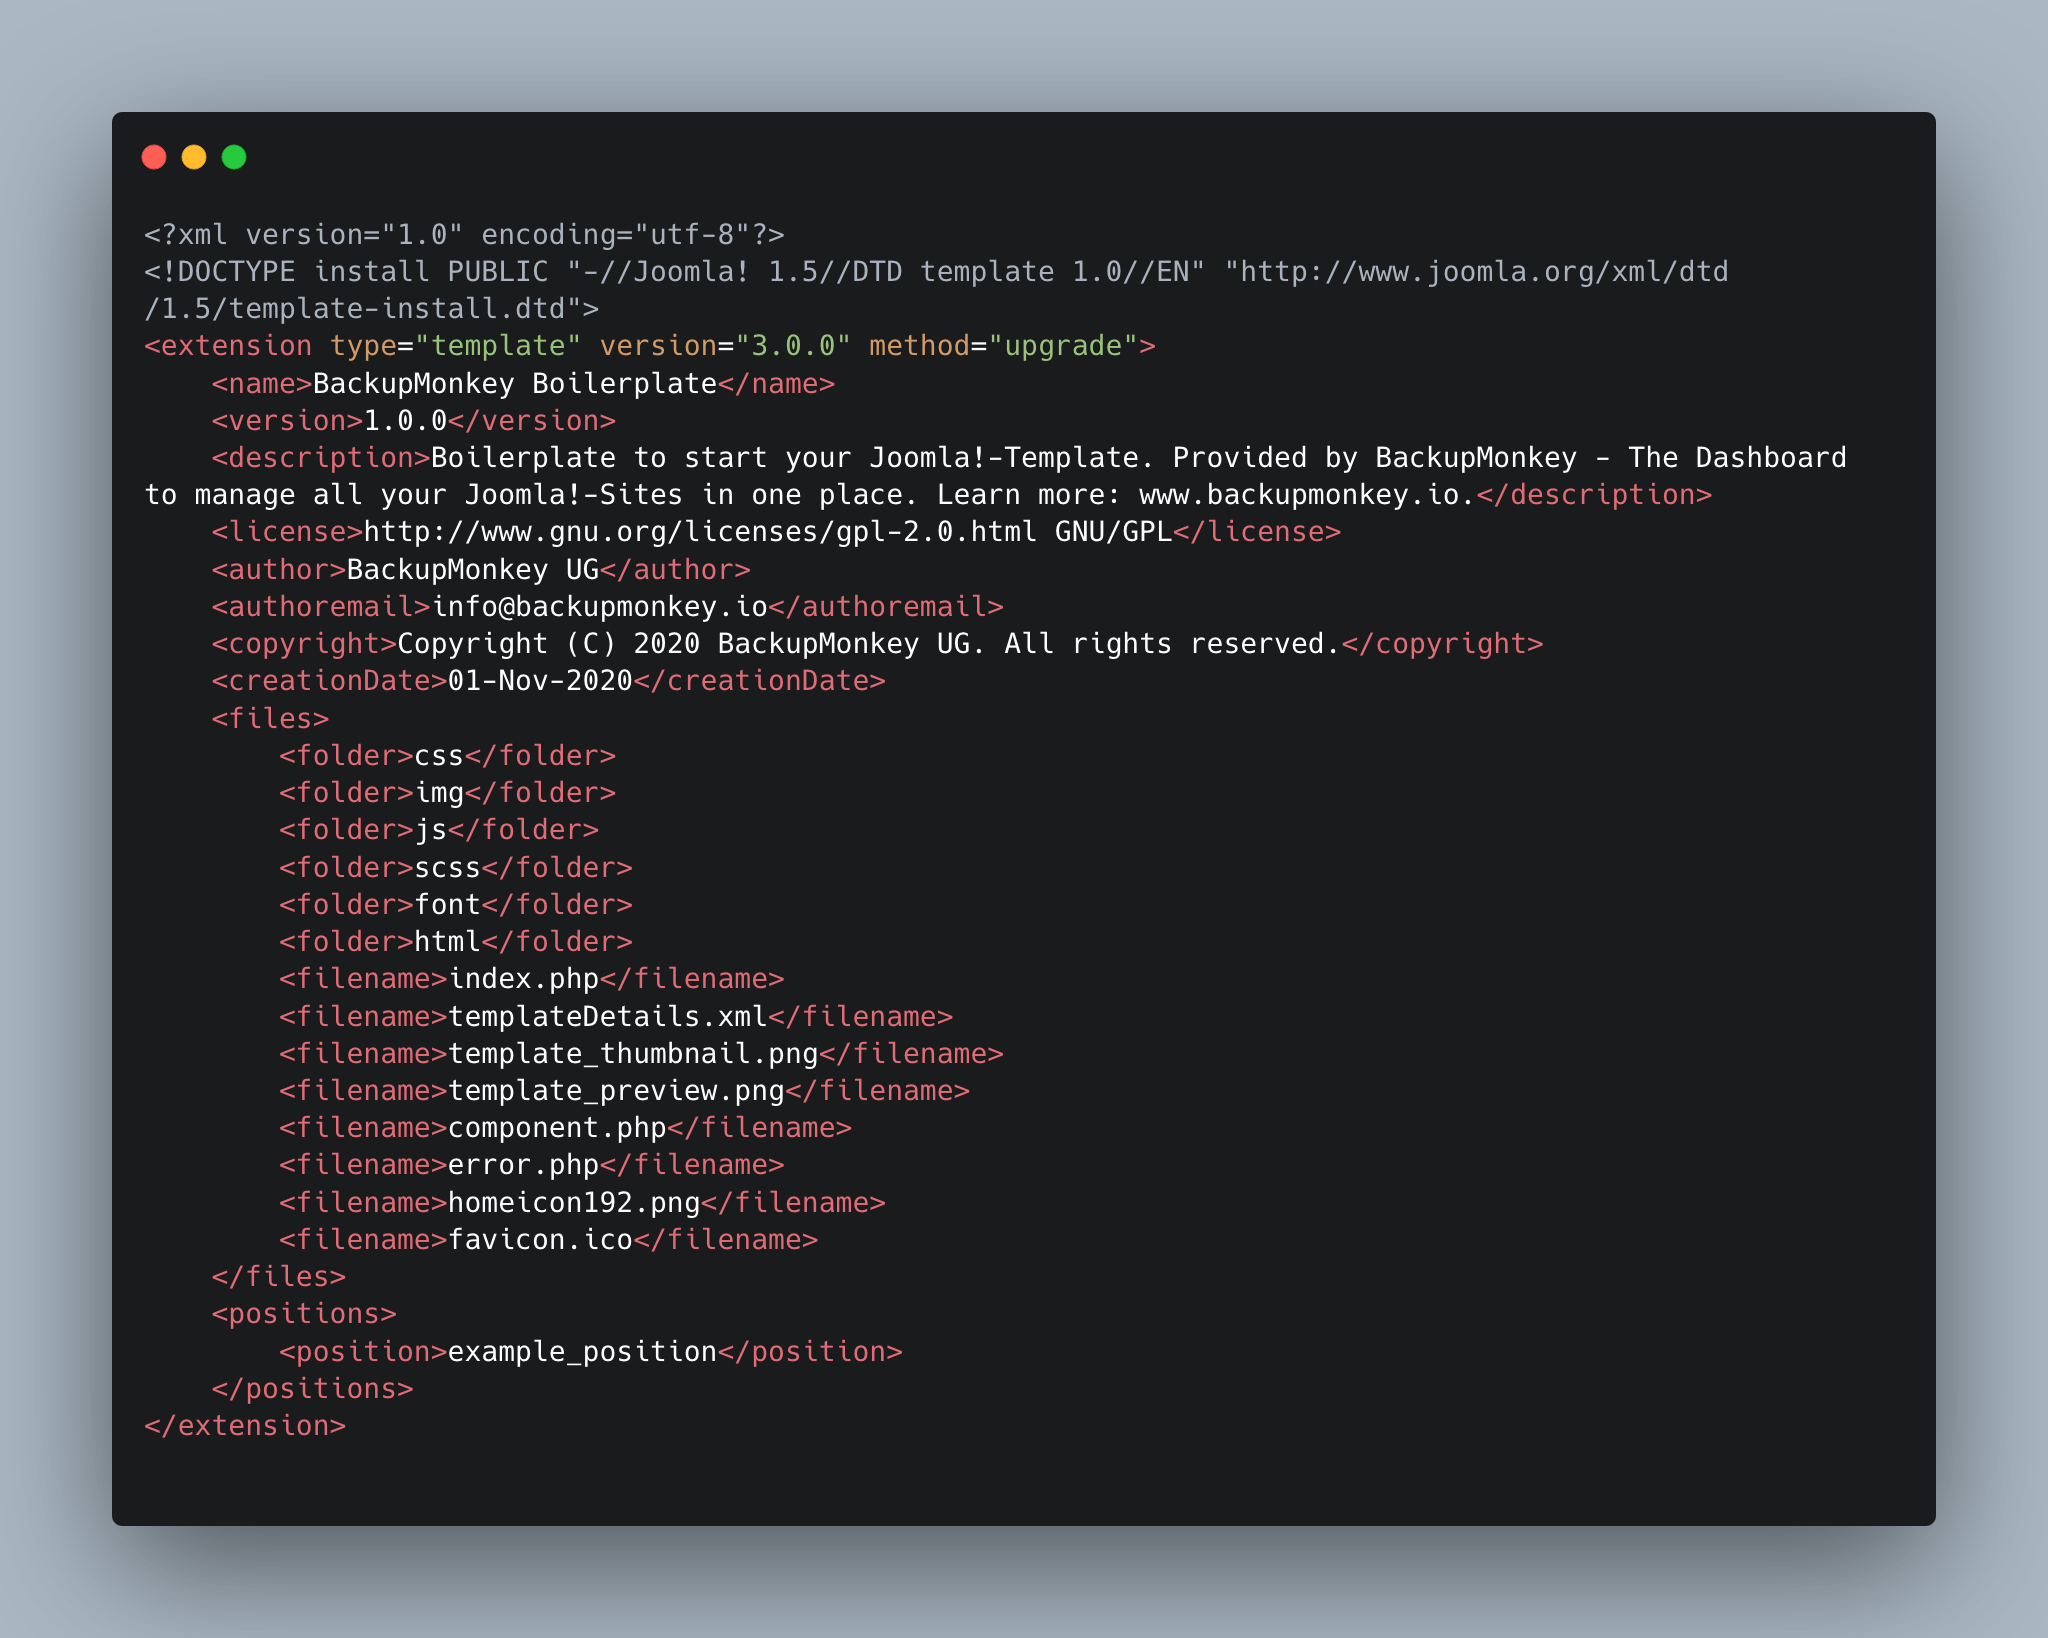
The templateDetails.xml is the manifest of a Joomla! template. In this file we store all meta information about the template and define which files and module position are included in the template. Again, we look at the file in detail and break down the text blocks and their functionality.
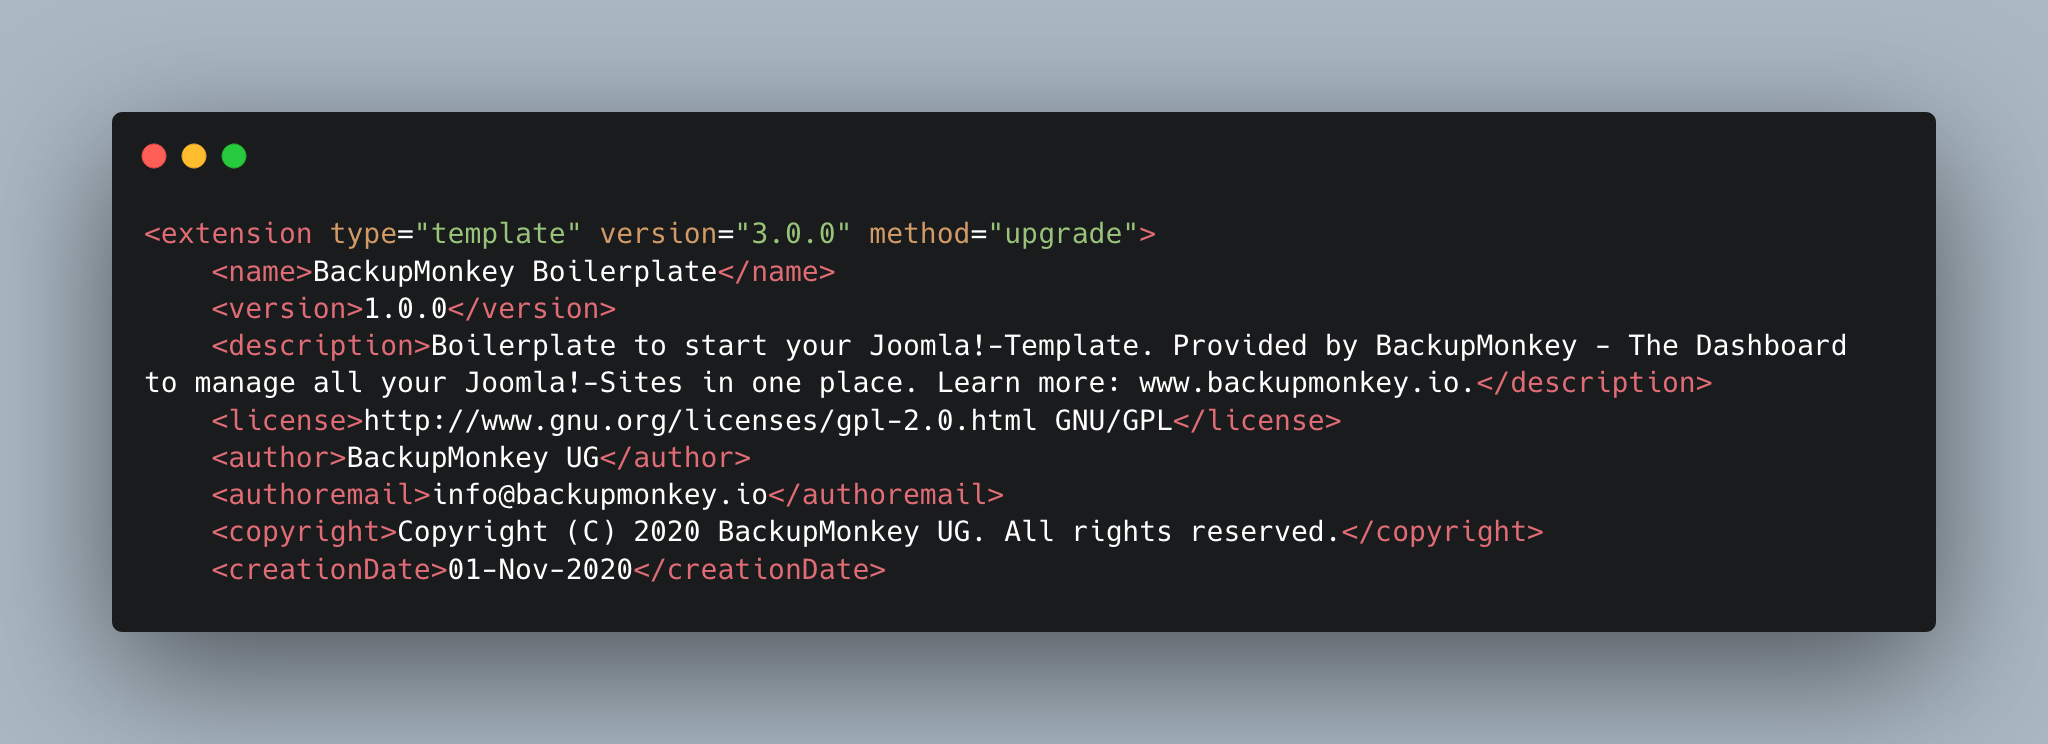
First we define all kinds of meta-information for our template. This includes the required Joomla! minimum version (in this example 3.0.0), the name of the template, the version number and more. The information given here will be listed in the administration area of our website (e.g. in the template overview).
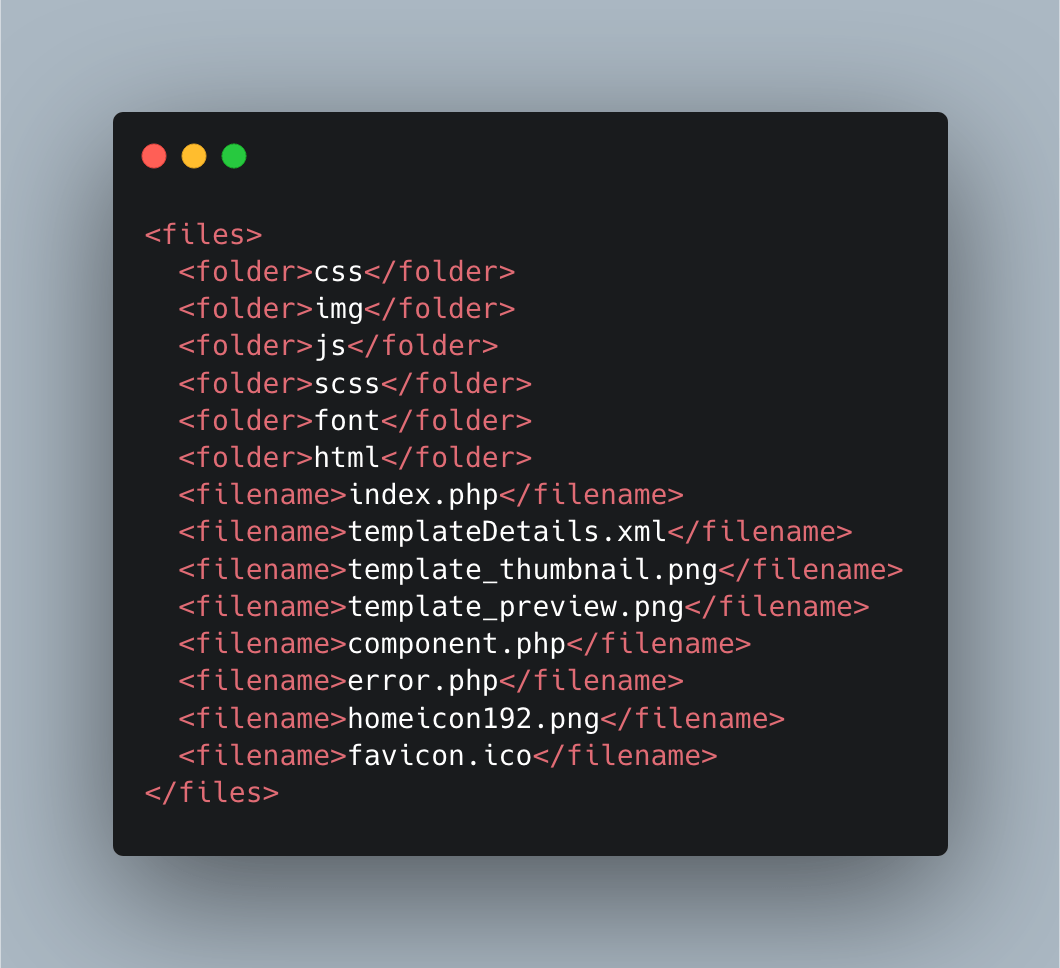
We then define all files and folders that are on the first level within our template directory. For this purpose all folders are marked by the tag <folder> and all files by the tag <filename>.
The template sketched above does not only include folders for CSS files, images and JavaScript files, but also a CSS precompiler (SCSS). Moreover webfonts are added to the folder font and referenced later in our CSS. In the folder html we add template overwrites to modify the default output of Joomla! (more about this in part 3 of our series).
On file level we also find the files template_preview.png and template_thumbnail.png. These images are displayed in the Joomla! administration interface in the template overview or the detail view of the template.
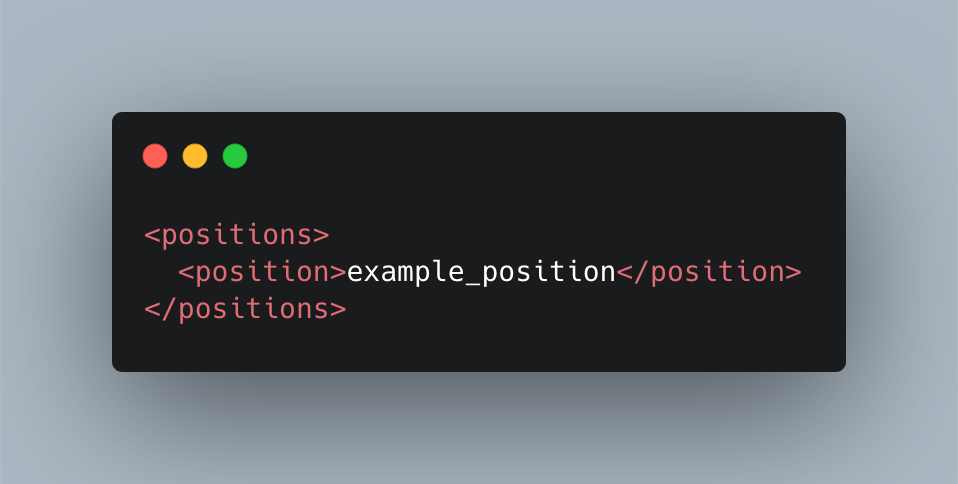
Furthermore, the definition of the module positions listed in the index.php file is also mandatory in the templateDetails.xml. Otherwise the corresponding module positions would not be selectable in the administration interface.
error.php (optional)
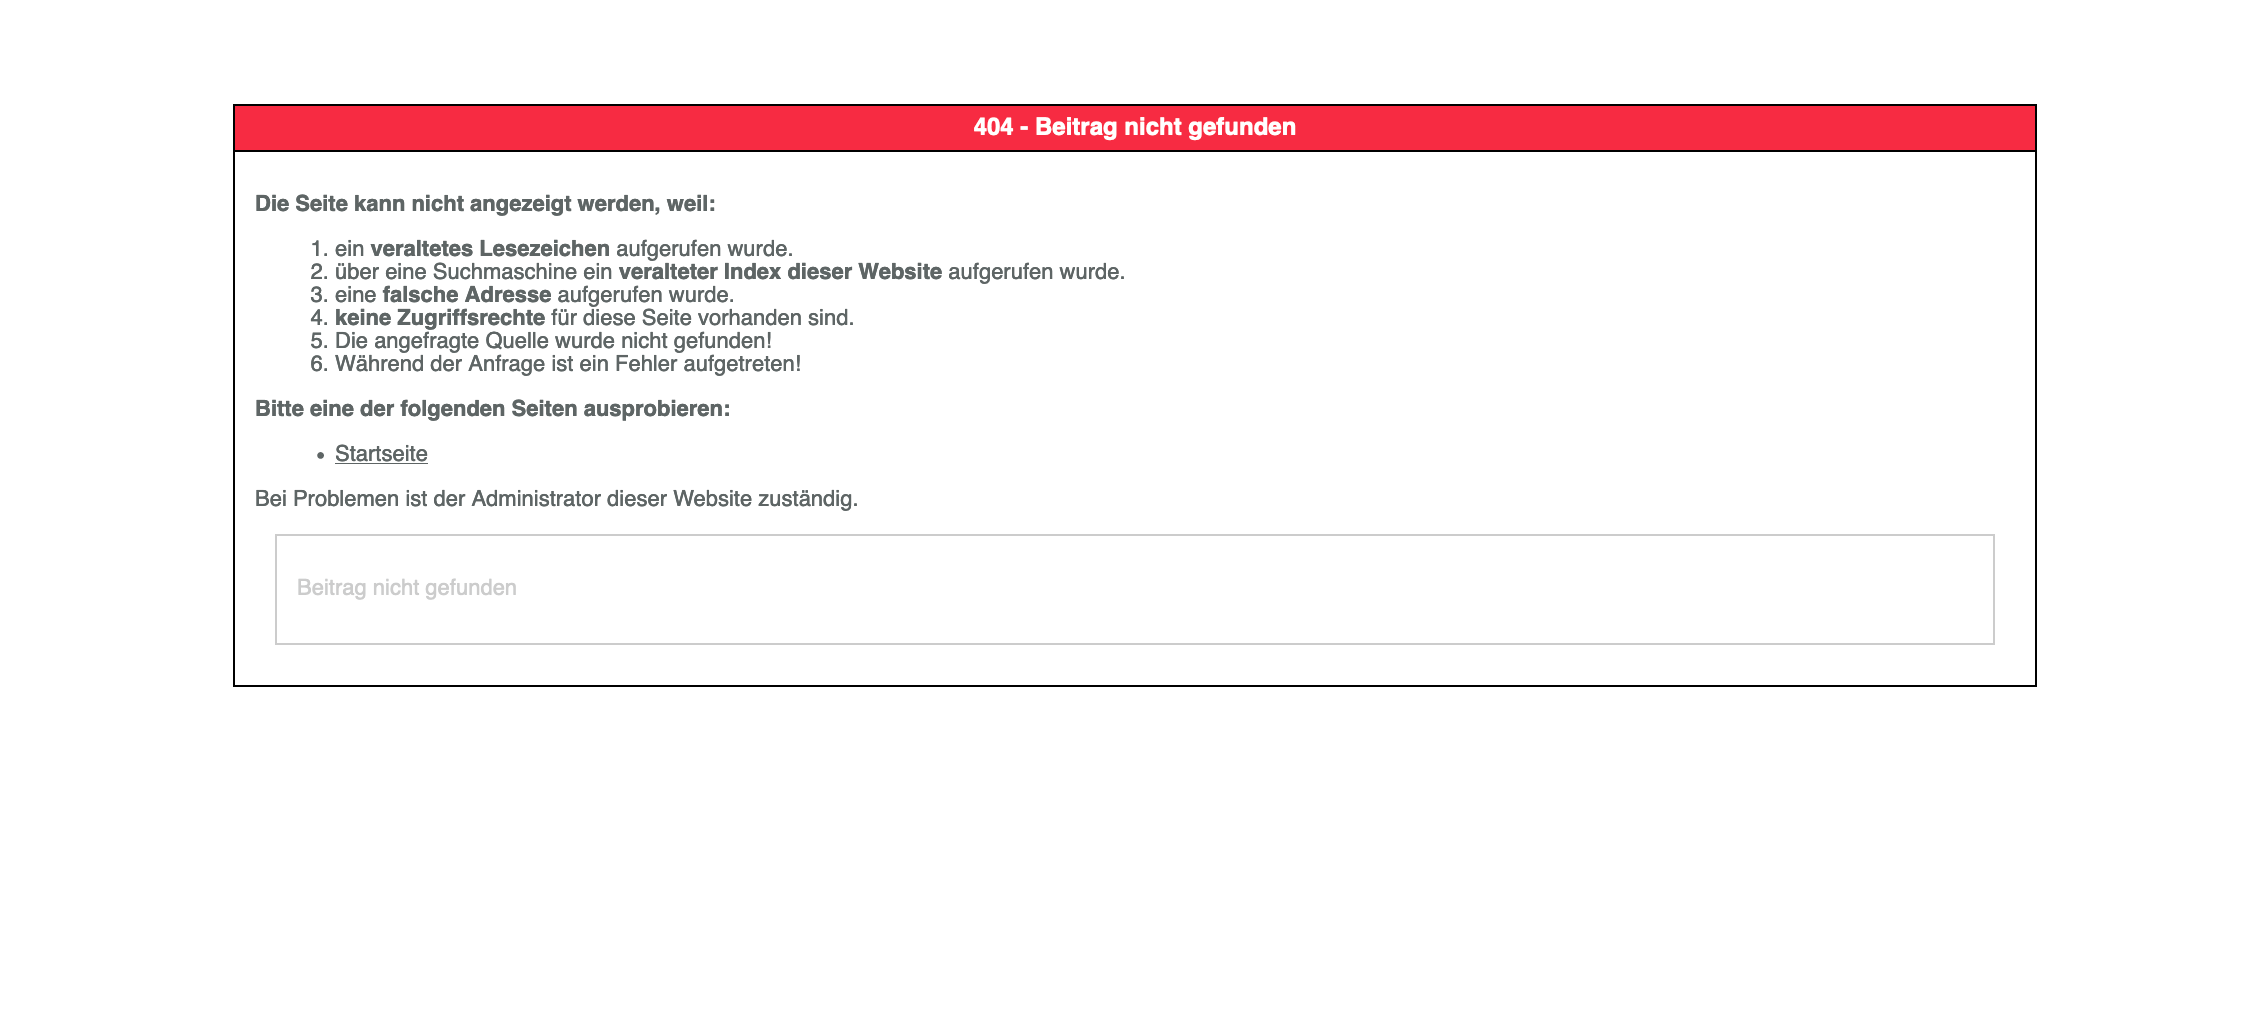
The error.php determines, as the name already suggests, the presentation of the website if an error occurs. It is called up if the requested page cannot be called up for various reasons (e.g. an article cannot be found). Through the error.php we have the possibility to completely customise the design of this page.
If no specific error.php file is stored in a template, the default output of the system is loaded (see screenshot).
Installation
To be able to track our template and changes to the template files we have to install the template like any other extension in the first step.
There are two different possibilities for this: The "normal installation" via ZIP upload in the Joomla! administration panel, or the direct upload via FTP client to the desired web space.
Installation via Joomla-Extension-Installer
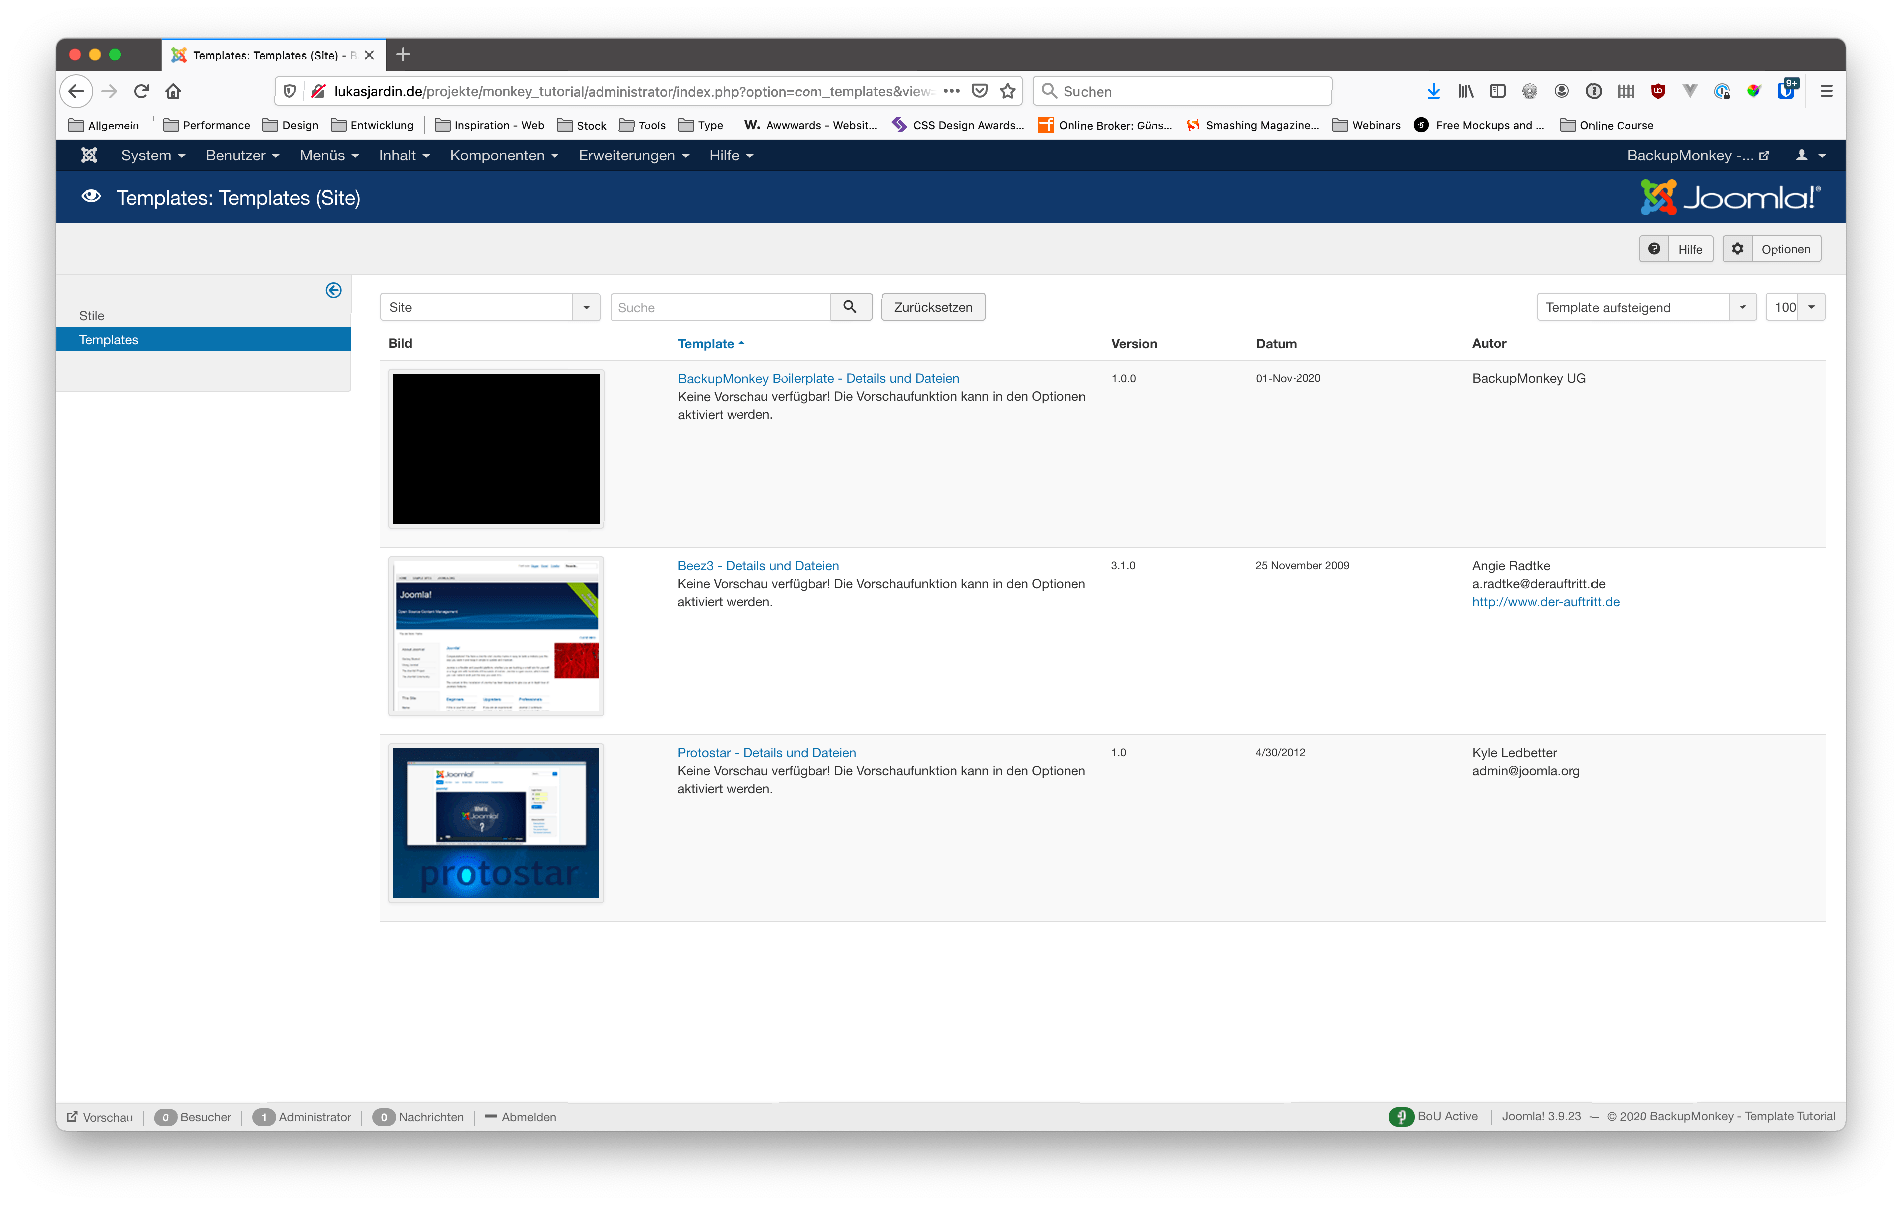
To install our template in the backend, we first have to convert the directory to a ZIP archive. Afterwards the template can be installed like any other extension in the Joomla! administration area and is available in the Extensions/Templates area.
Upload via FTP
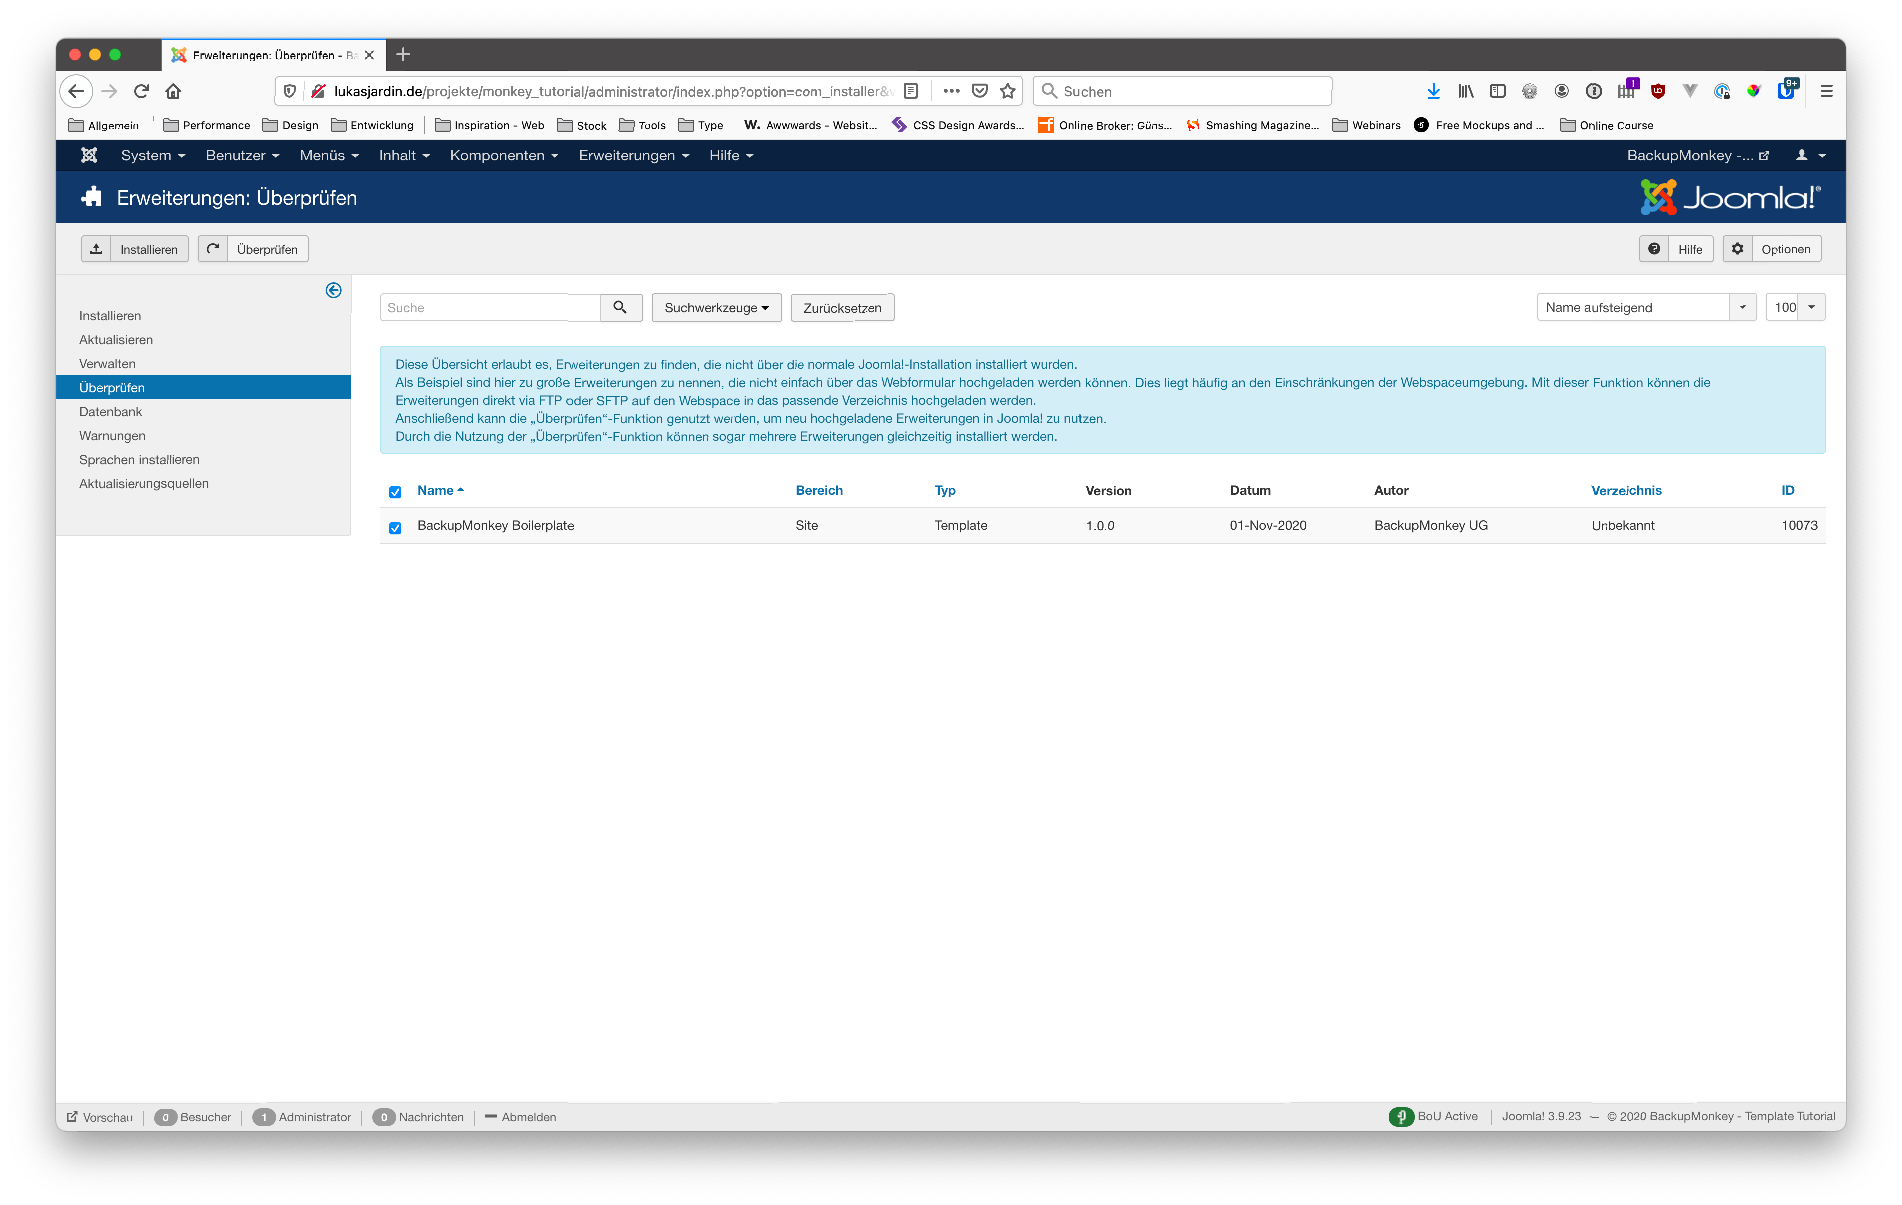
Alternatively, we can also upload the template order directly via FTP into the templates directory of our Joomla! installation. Afterwards we have to go to the administration panel of Joomla! and click on the menu item Extensions/Manage/Discover. By clicking on the Check button we "discover" the uploaded template and are then able to install it.
Our first output: “Hello Monkey!”
After we have successfully installed and enabled the template, we can finally start with the actual programming of the Joomla! template.
In order to show the principle of template-programming we assign a single article as a menu item. Afterwards the page should look more or less like the following screenshot:
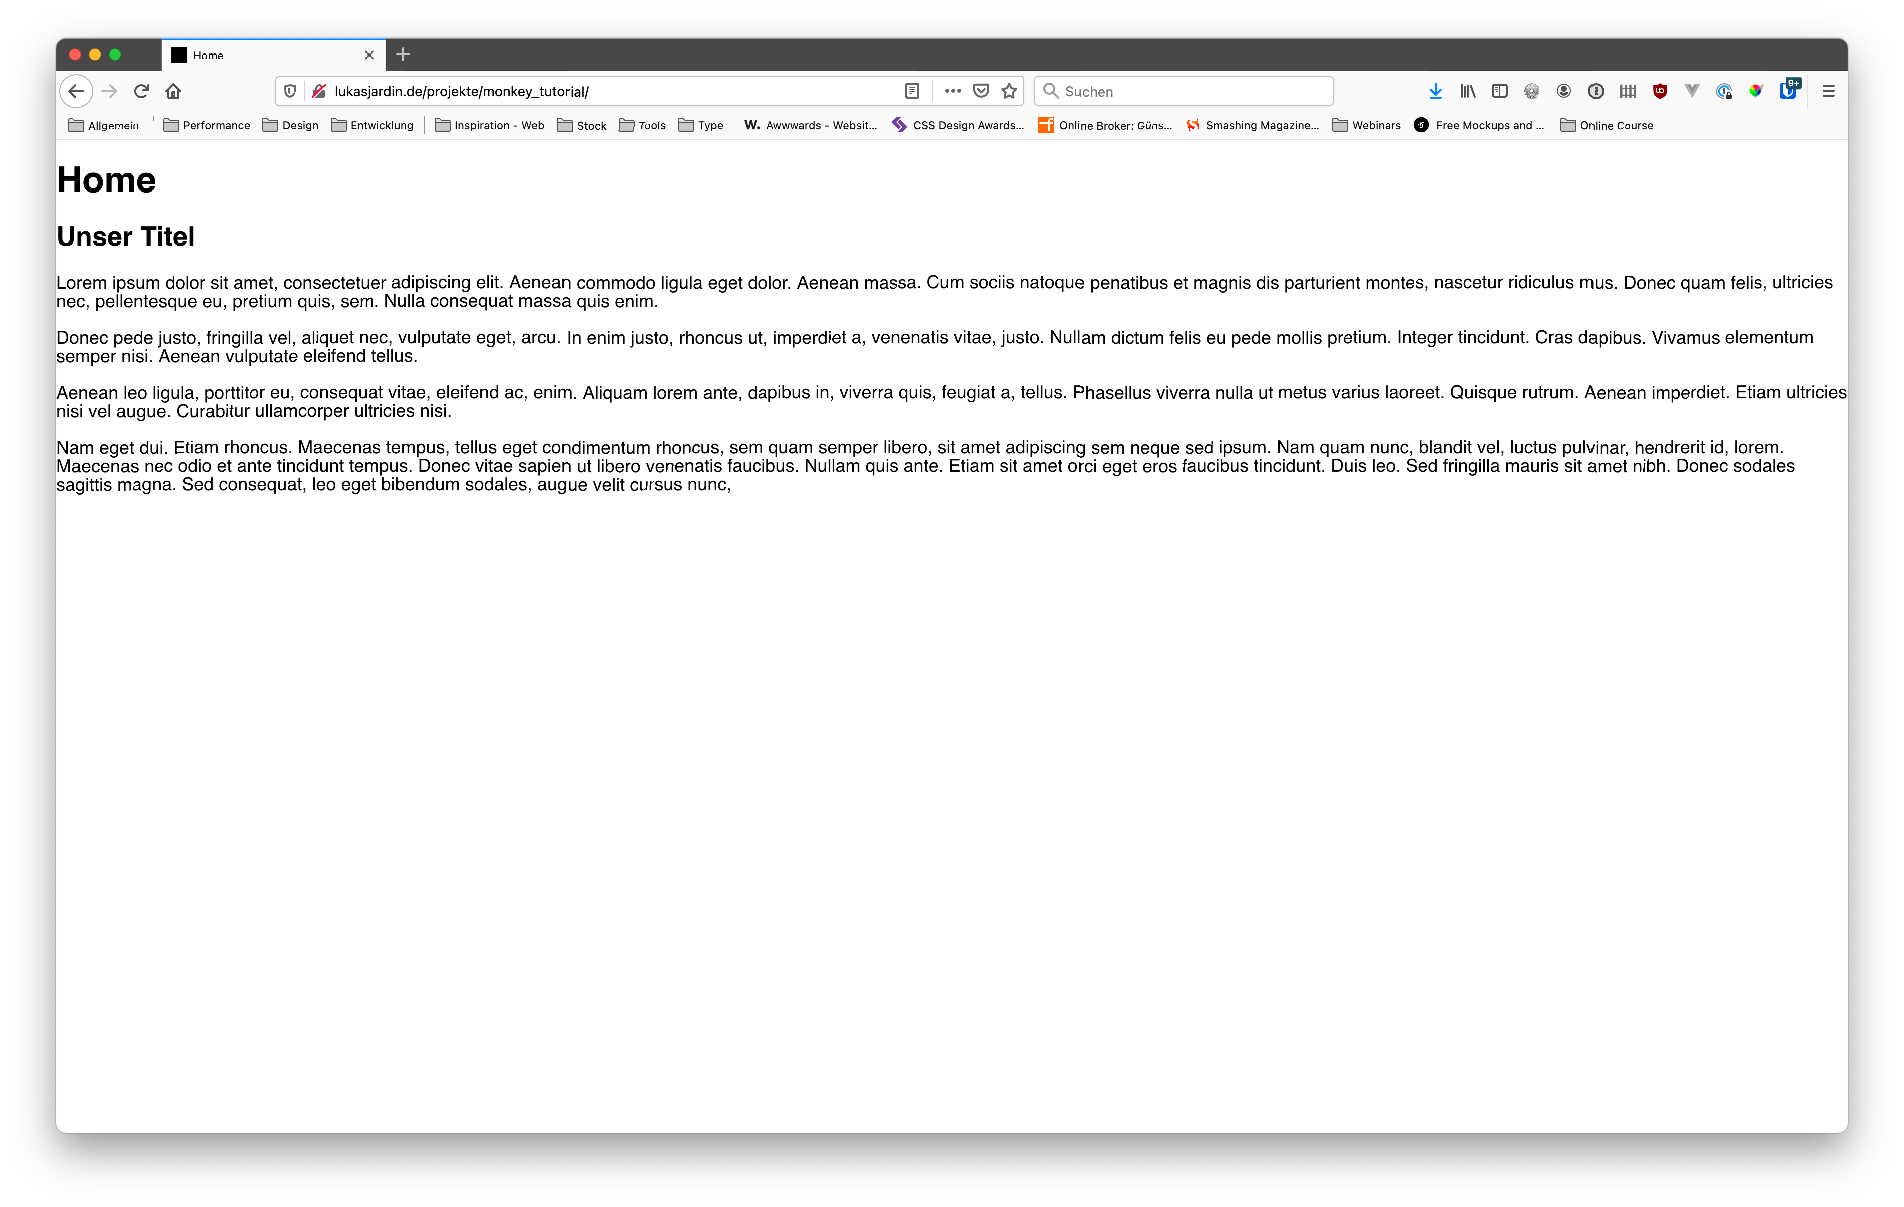
The content of the article is displayed across the entire width of the browser window (congratulations - the template is already 100% responsive at this point). Further contents are not to be seen.
In the next step we would like to display an additional headline "Hello Monkey" above our article (resp. our component output) Yeah, we know - it's easy to argue about the sense of the whole thing, but we simply love monkeys. For this we switch to the index.php and simply enter the desired headline at the right place in the index.php:

Ta-da! That's it - very easy and fast we customized the output of our first individual template. The result should look roughly like this:
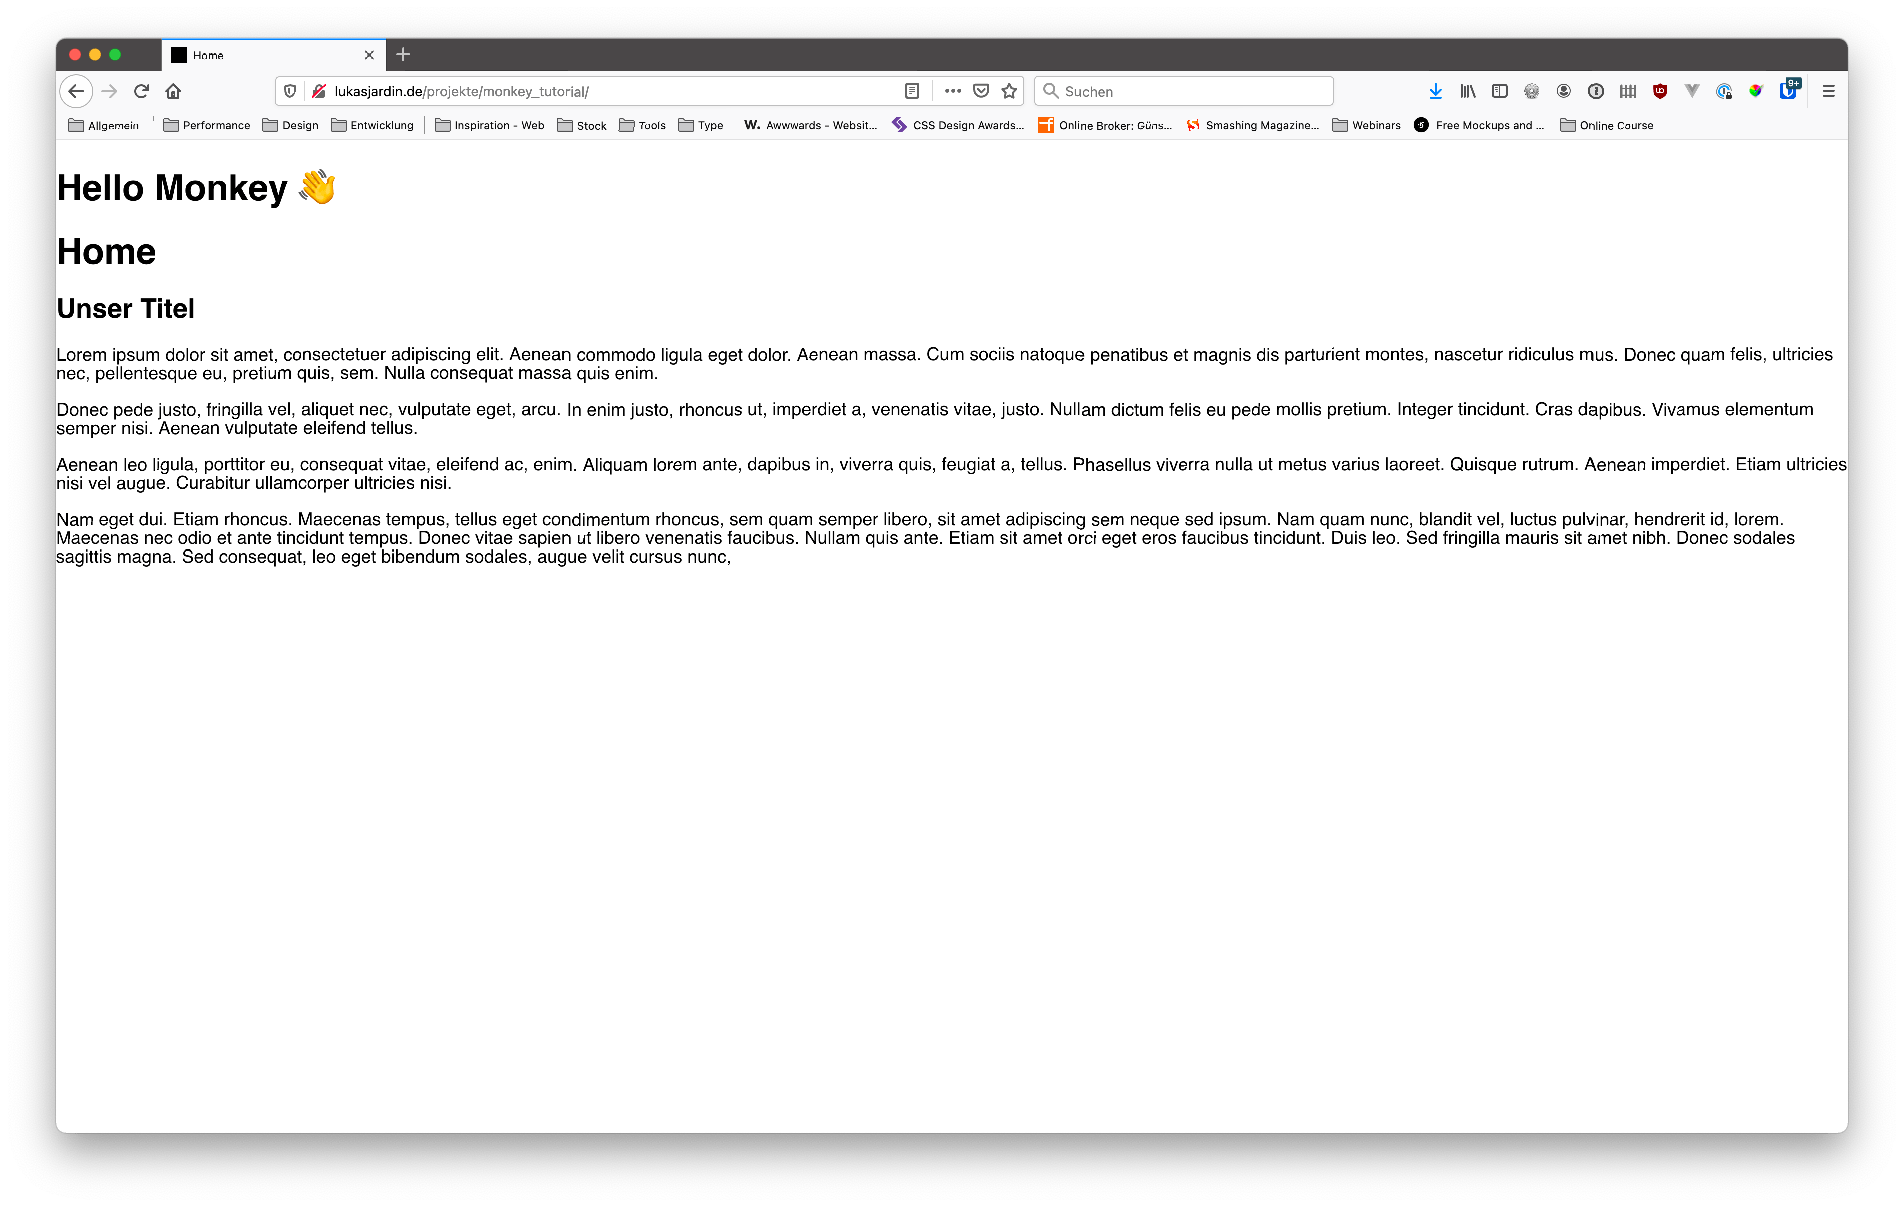
Although we have not yet produced a visual or structural masterpiece, the general principle is clear: changes to the index.php directly affect the output in the browser. With the help of the knowledge gained we can directly start the further development of Joomla! templates - more about this in part 2 of our series.
In the second part of our guide we would like to convert an exemplary screen design into a fully functional Joomla! template together with you. We will show you tips and tricks from everyday work, so that you will be able to bring your own designs and ideas to life afterwards.
We hope we could remove some question marks in your heads and show that programming an individual Joomla! template is basically anything but rocket science.
Do you have questions or suggestions? Then write to us on Twitter, Facebook or directly by mail to